

How to Go Plaster-Free in Your O&P Workshop
Going plaster-free doesn't mean relearning your profession. Your clinical decisions and diagnostic fittings stay exactly the same. Only the starting point changes: a 3D scan instead of a plaster cast, leading to a faster, cleaner, and more reproducible workflow.
Here is what that transition actually looks like in the workshop.

1. Master the scan before the software
The classic mistake when going digital is rushing into CAD. The scan is your starting point: good data in yields good data out. Scanners from the Shining 3D line (EinScan H2, Einstar) as well as the Medixa are perfectly suited and pre-configured in the VYTRUVE platform. However, the system remains open: many other hardware models on the market are fully compatible depending on your budget and needs (discover here which scanner to choose for VYTRUVE).
Once equipped, the focus is purely on your technique: patient positioning, capturing bony prominences, and managing movement artifacts.
For Transtibial: The standard is scanning directly over a liner to contain the soft tissue and capture the stabilized volume of the residual limb.
For Transfemoral: We use a two-scan protocol with the VTF tool to capture ischial containment under true weight-bearing (something a single scan simply cannot d
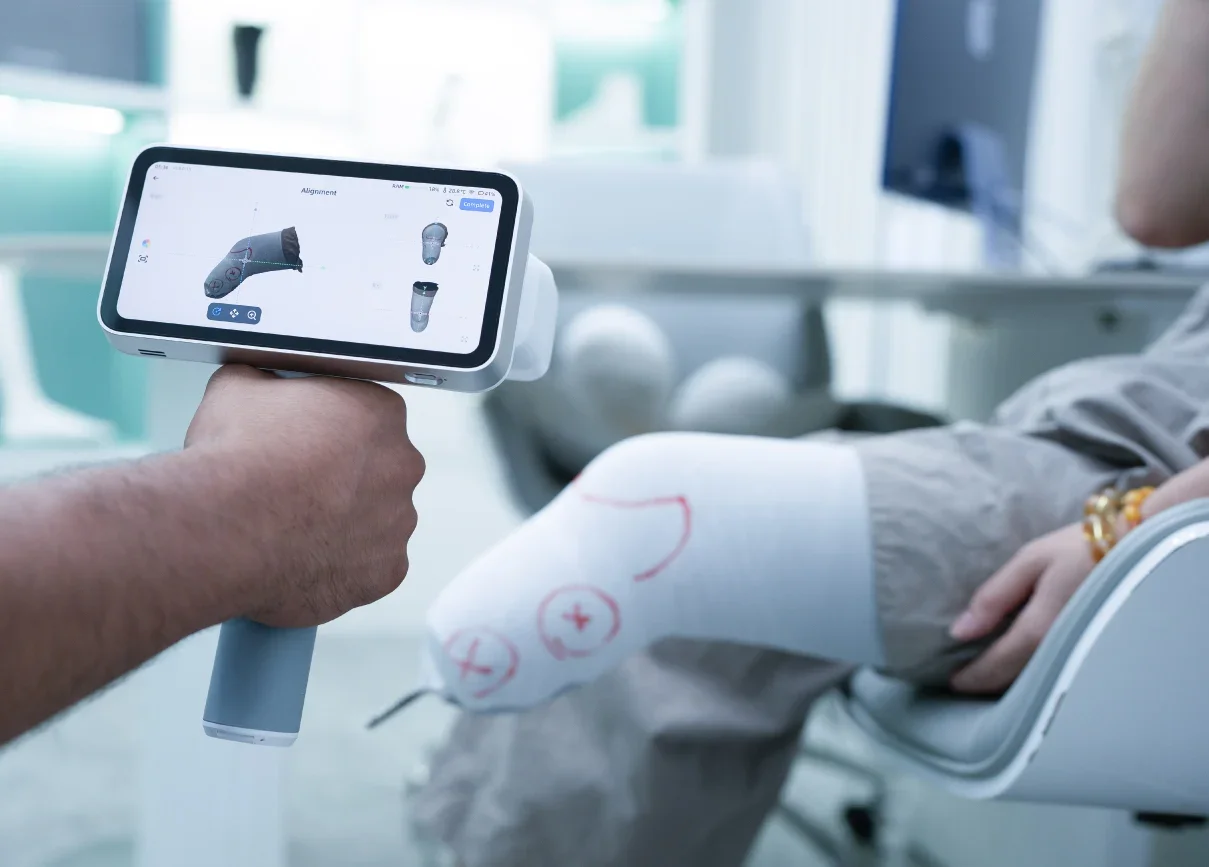
Image : Shining 3D©
2. Modify like a clinician, not a programmer
CAD modification with VYTRUVE mirrors the physical logic of the workshop: add reliefs for pressure areas, build up volume, adjust the wings, and align the foot with the socket.
The first patient takes a little extra time, simply because you are translating your physical workshop habits to a screen. The biggest upgrade? The "Undo" button. It completely removes the stress of taking off too much plaster with the surform file.
3. Choose your production route
Before your first socket, you have two options:
VYTRUVE Central Fabrication: The printed check socket arrives within 48 to 72 hours. Perfect for getting started without hardware investments.
In-House Printer (Vprint): Validate your modification at the end of the day, let it print overnight, and the socket is ready for fitting the next morning. Its build volume (30x60 cm) covers the vast majority of lower limb prosthetics.
Note: Many clinics start with outsourcing to central fabrication before bringing a printer in-house once their volume grows.
4. The Diagnostic Fitting: Nothing changes
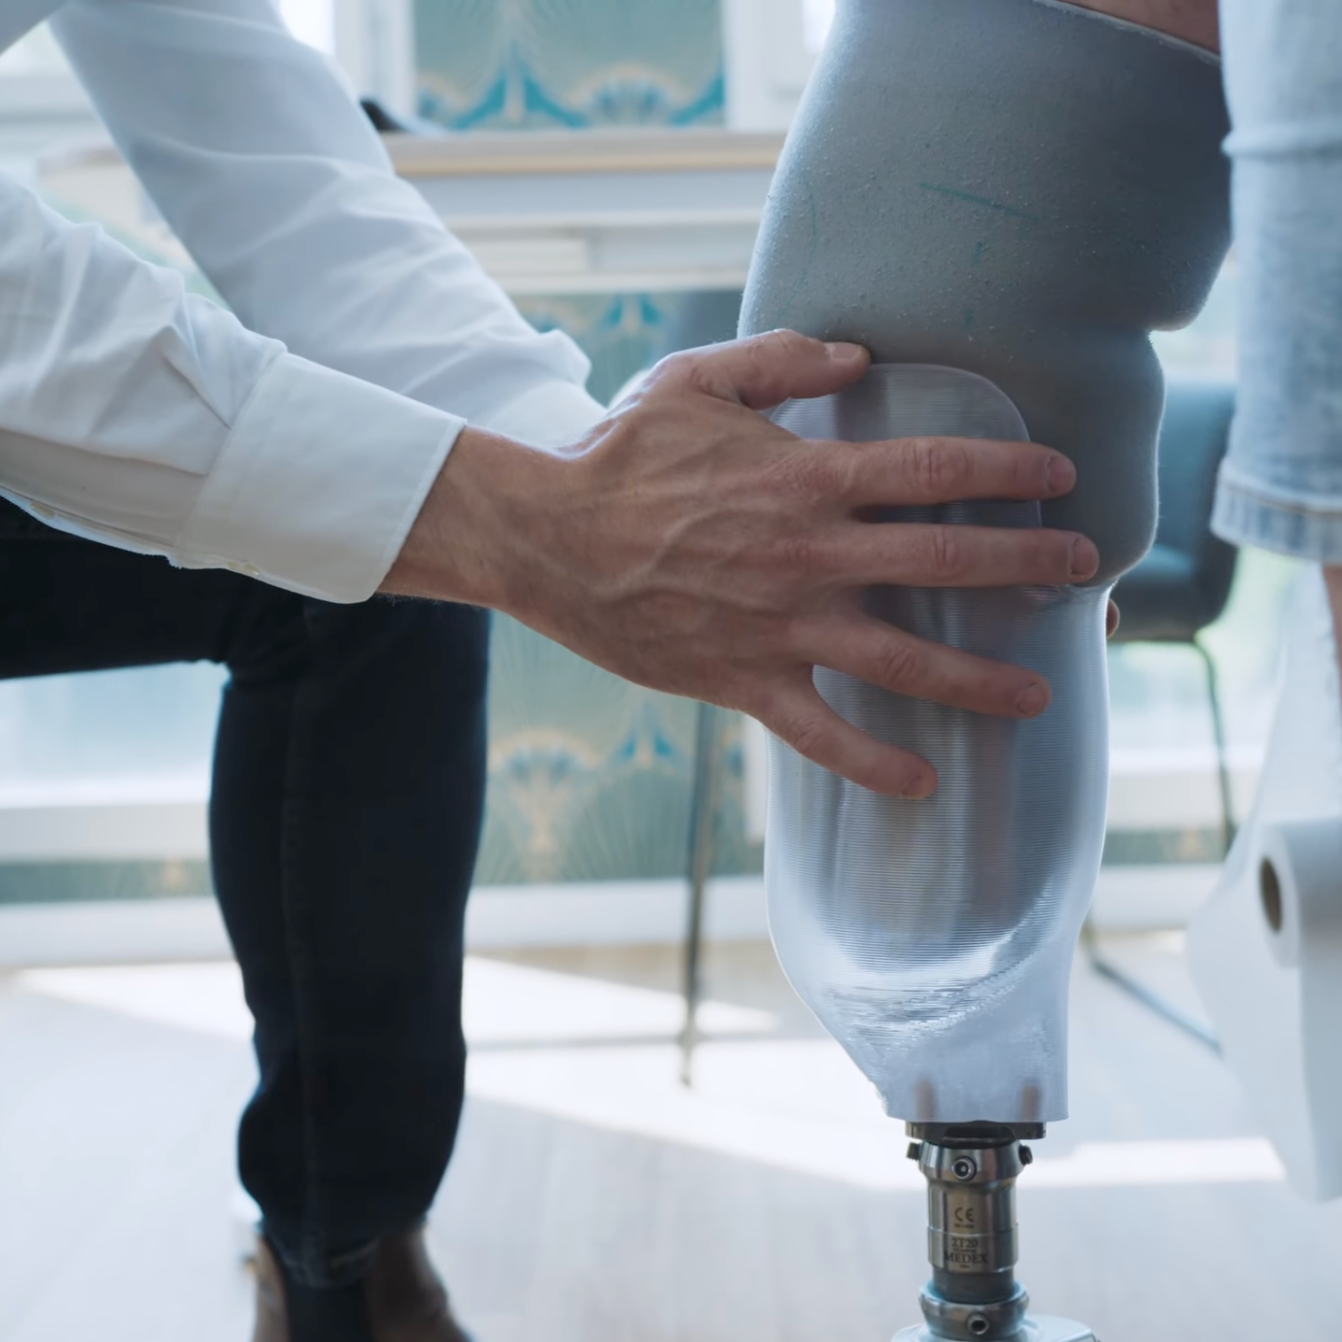
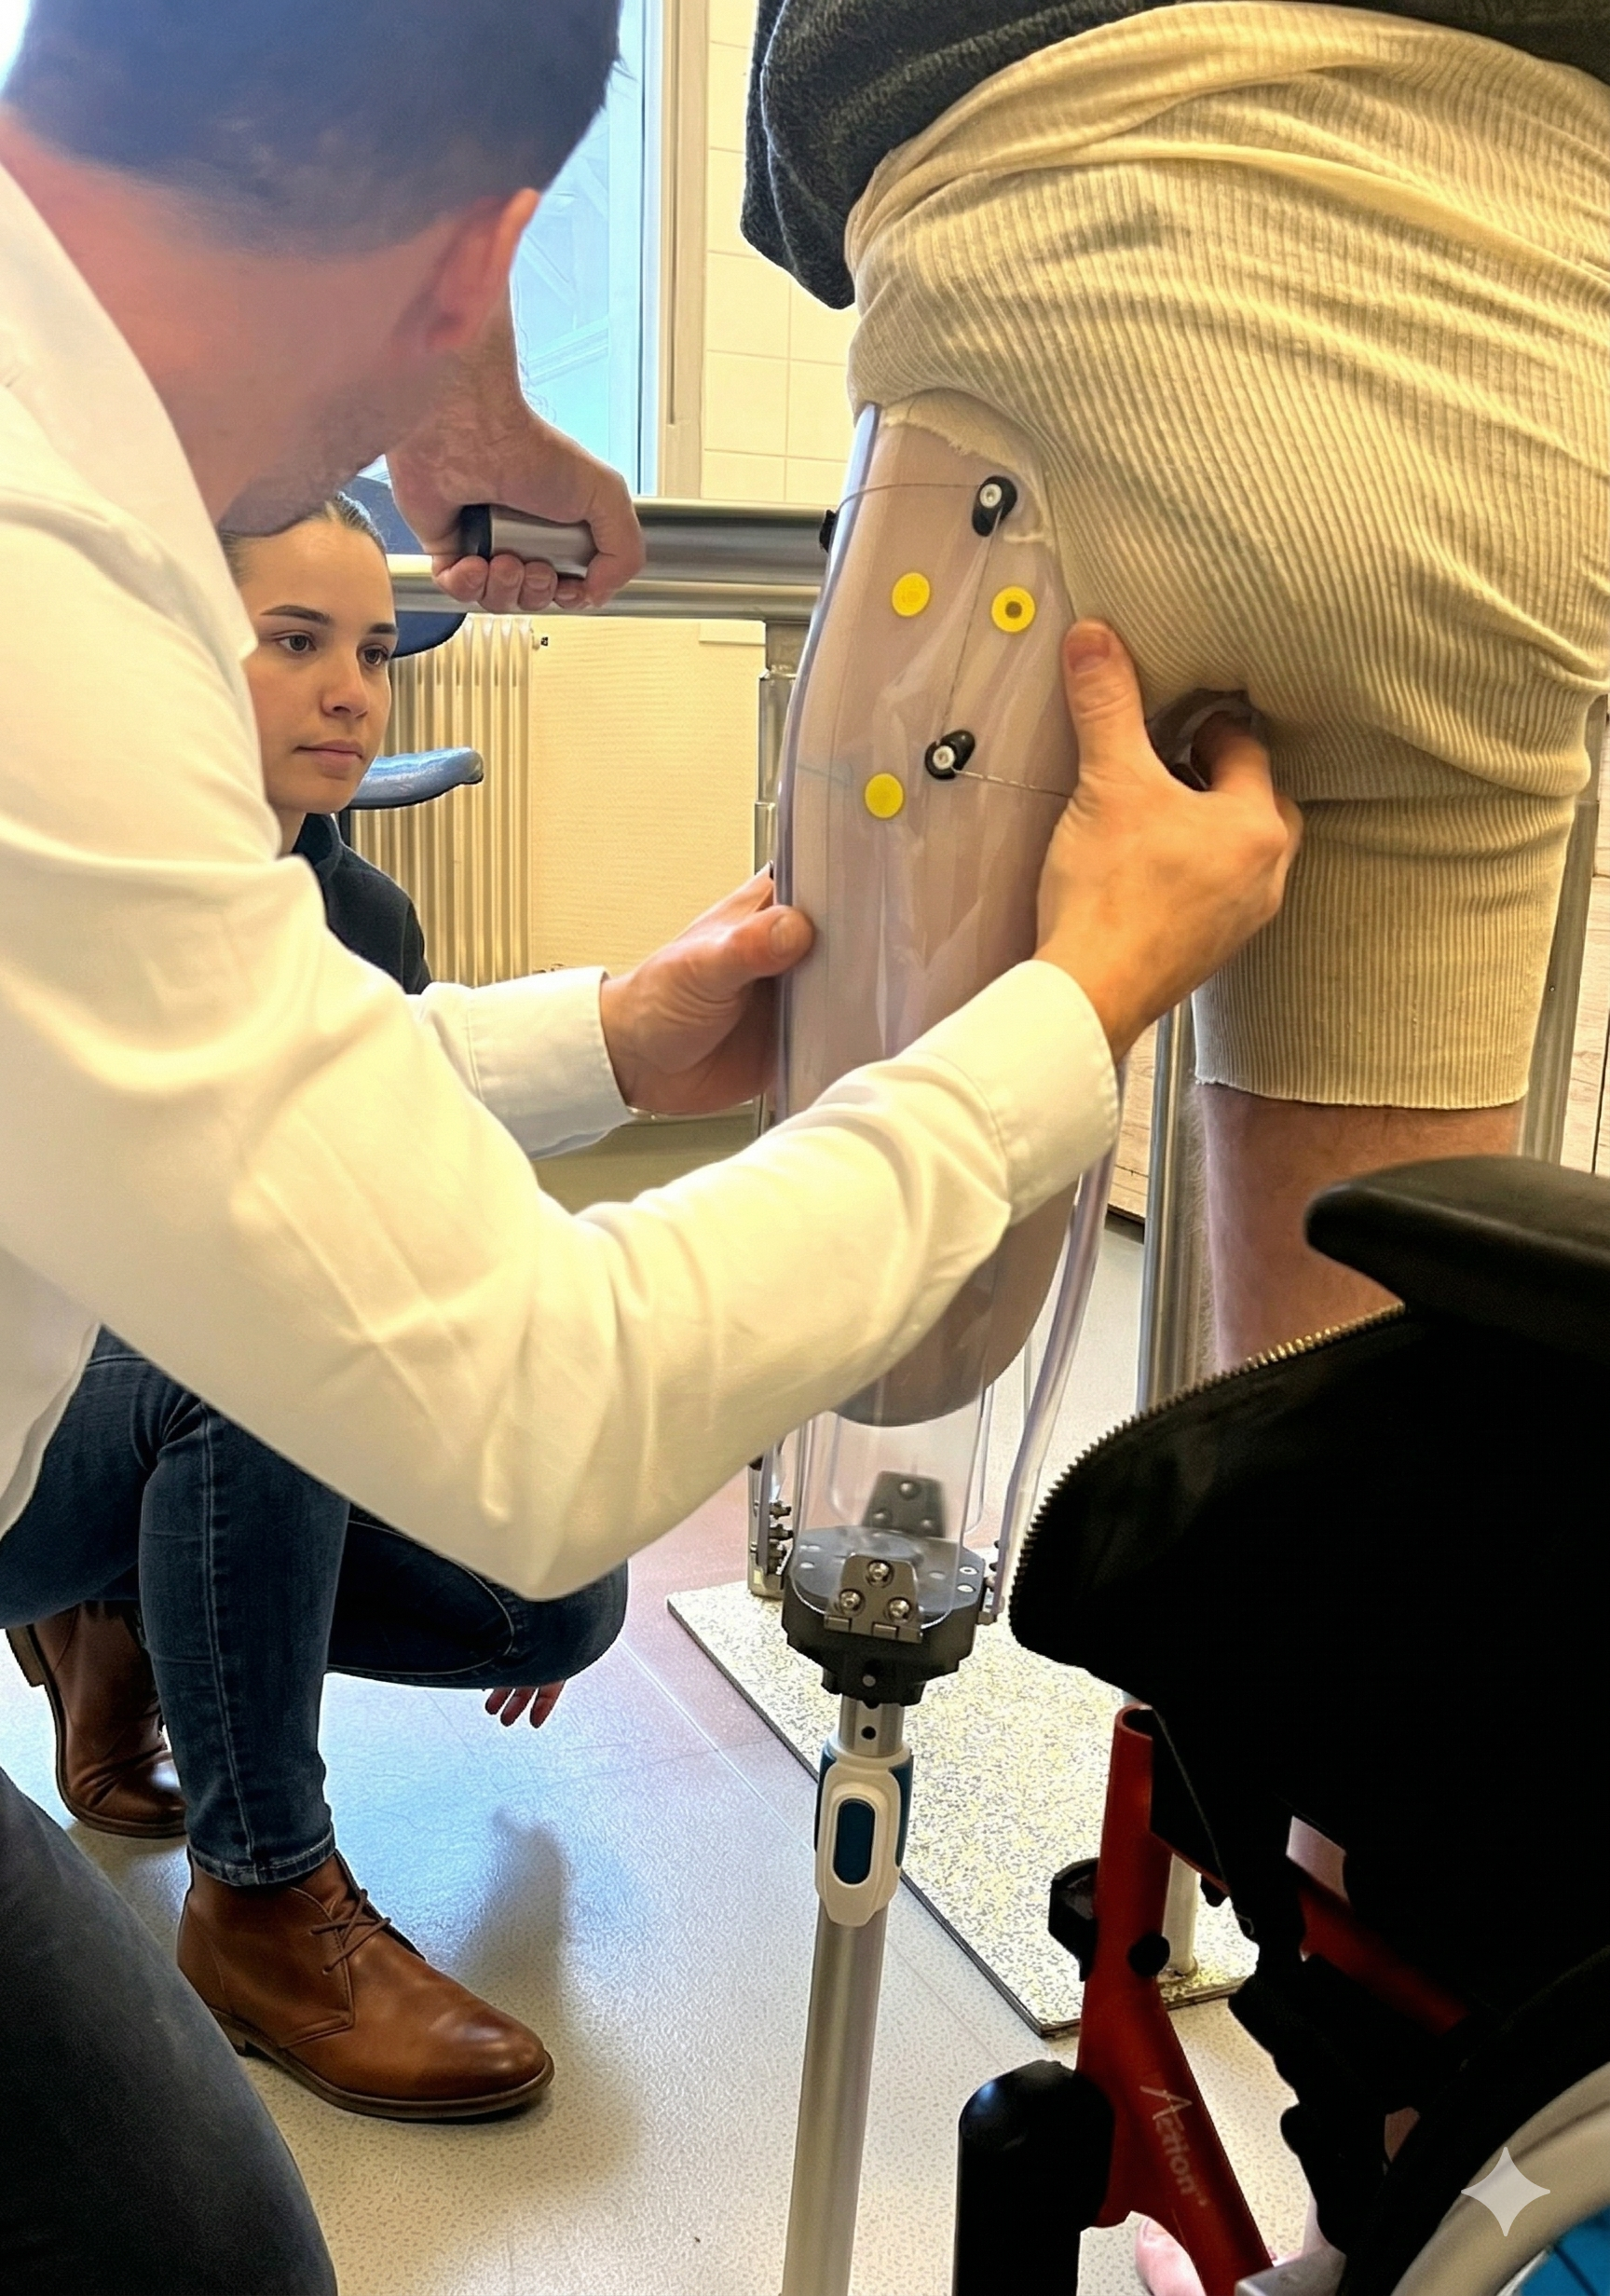
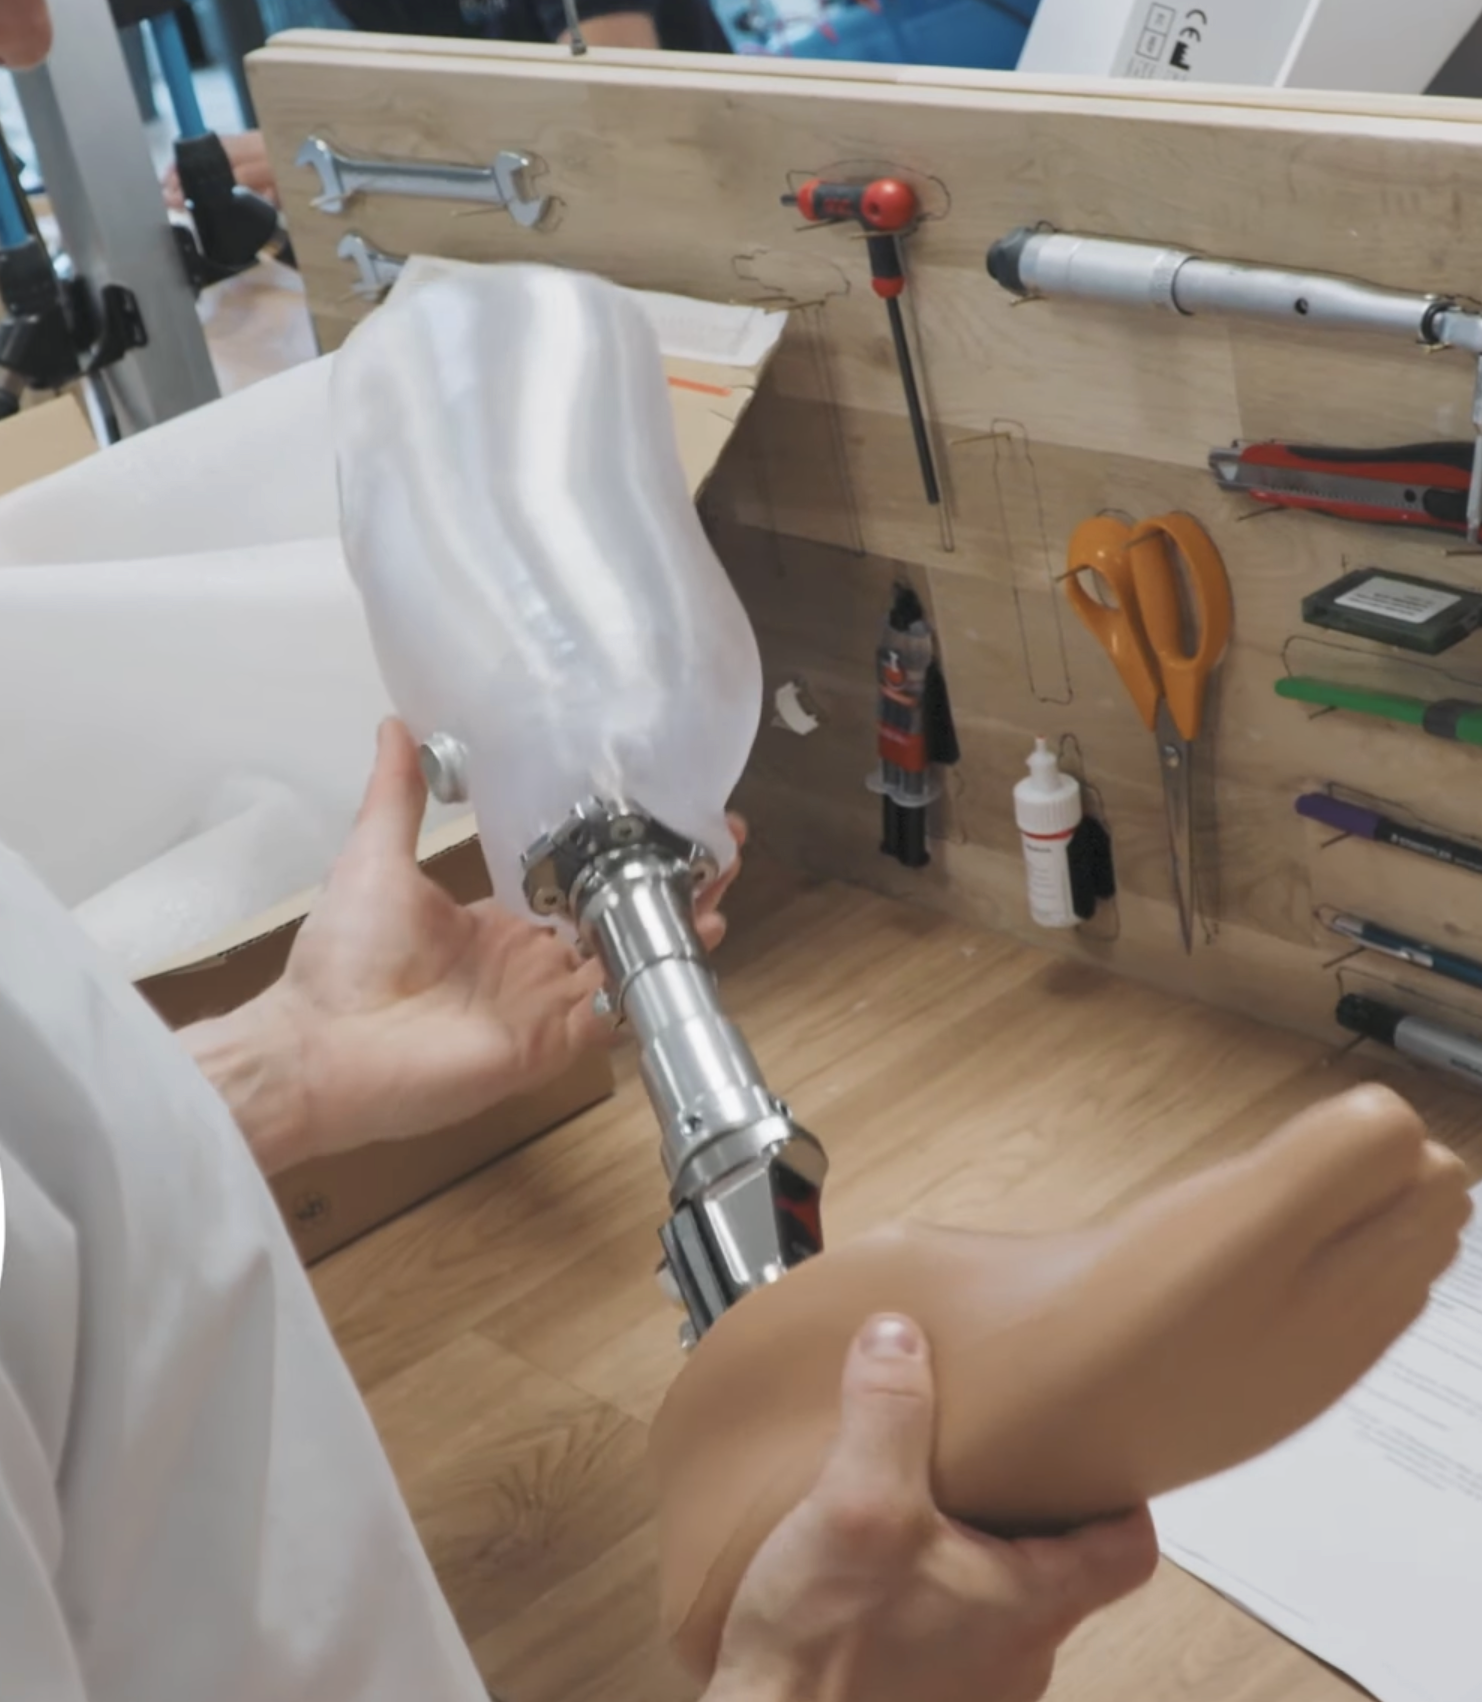
The fitting process remains identical. The check socket arrives in clear PETG. You visually assess skin contact, check the wings, and evaluate dynamic alignment. If adjustments are needed, PETG responds perfectly to a heat gun, just like standard thermoplastics.
The real difference happens after the fitting: any clinical modification can be updated in your 3D file. When the patient returns in six months for a new socket, you start from a validated baseline, not a blank slate.
5. Moving to Transfemoral
Most CPOs transition to above-knee cases after just 2 to 4 weeks of transtibial practice. The VTF tool scanning protocol is learned quickly, and the modification logic is exactly the same.
The same applies to sub-ischial sockets scanned directly over a silicone brim.
6. The Definitive Socket: Carbon or Direct 3D Printing
Once the check socket is validated, you have two routes for definitive manufacturing:
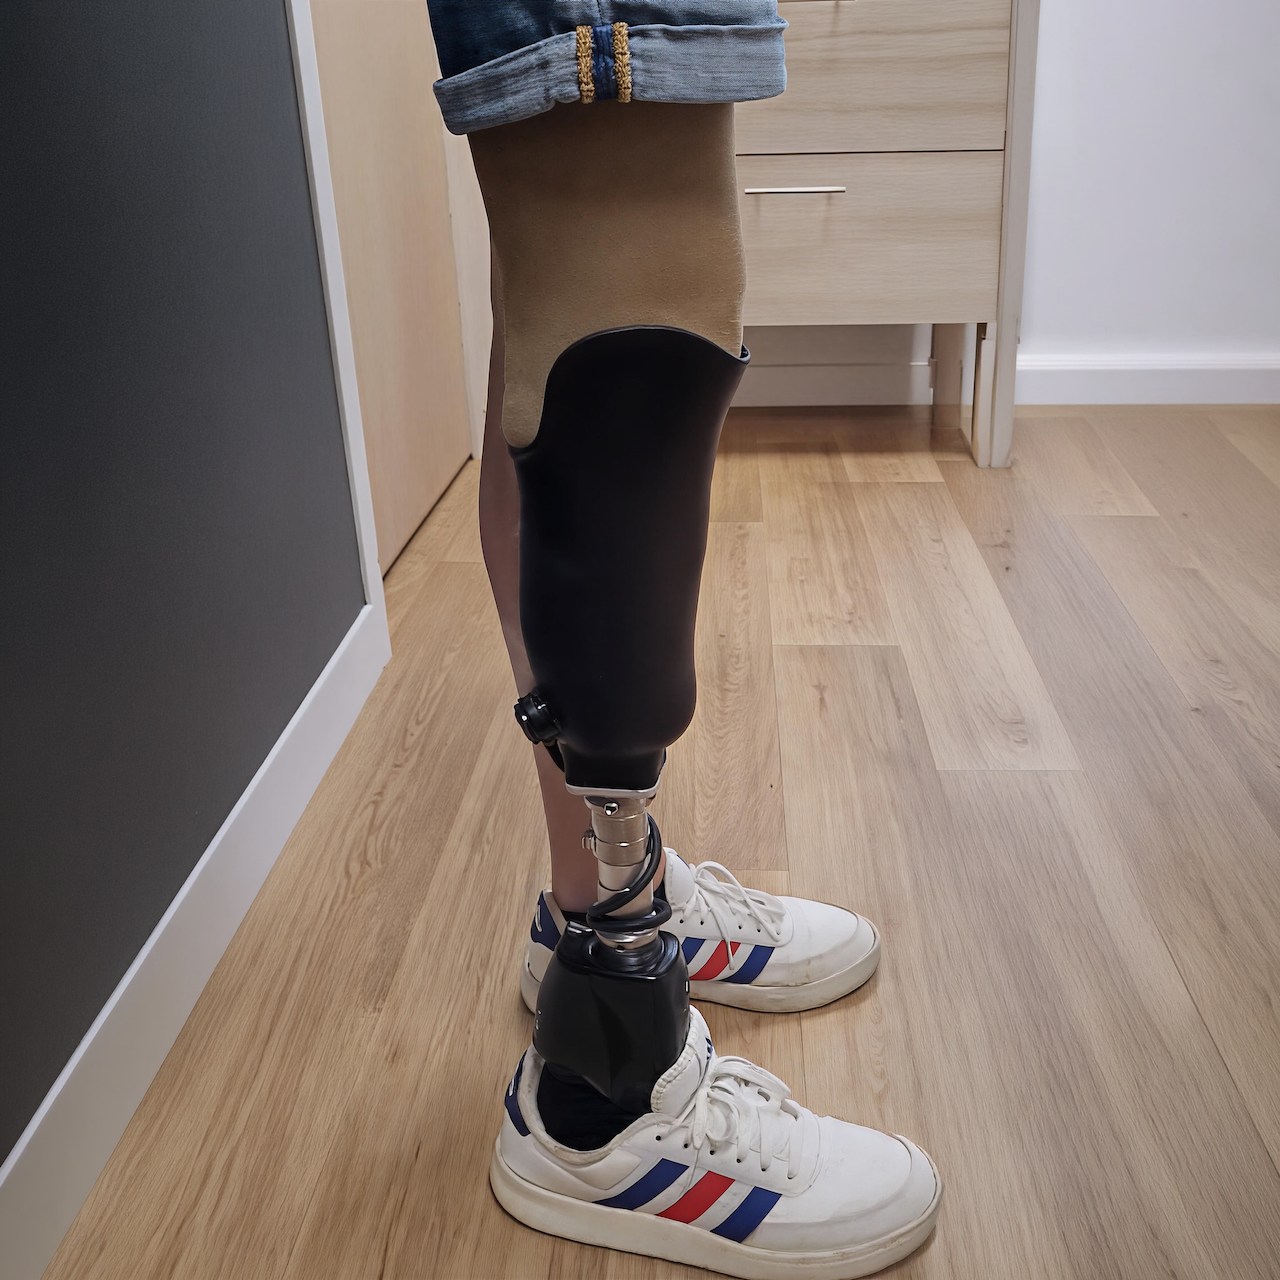
Carbon Lamination (Vtransfer process): You scan the check socket directly on its transfer plate. The system generates a PETG positive model that replicates the exact internal shape and alignment. This positive is ready for standard carbon lamination in your workshop. The result: no pouring wet plaster , and the hollow design allows for clean demolding of the definitive socket.
3D-Printed Definitive (EVERvy Essential range): You can also order a direct 3D-printed definitive socket. Utilizing MJF technology and PA12S material, it offers high resistance, durability, and a lightweight design with a clean black finish that requires no further processing
Summary
Going plaster-free isn't a leap of faith; it's a sequence of practical steps. The scanner replaces the plaster cast, CAD replaces the surform file, and the 3D-printed positive or socket replaces the heavy plaster model. Your clinical judgment remains 100% yours, with one major advantage: you save precious workshop time to focus entirely on patient care.
VYTRUVE is accessible at app.vytruve.com. Patient creation and digital modification are included at no cost. For questions or to request a demo, contact l.eckenfelder@vytruve.com or reach us at contact@vytruve.com.
Tags: digital prosthetics, plaster-free workflow, CPO digital tools, 3D printed check socket, prosthetic socket fabrication, VYTRUVE
VYTRUVE SCANNING HARDWARE
Vcart
Digitalizer
BK / upper limb scanning tools
AK scanning tools
KEY FEATURES
OF VYTRUVE
Scan comparison
Alignment
O&P components integration
100% color
VYTRUVE
3D-PRINTING
Vprint
Digitalizer
Service
O&P
Products
TT / TF Check sockets
Temp orthosis
Definitive TT / TF
Definitive TR
3D-Custom liners